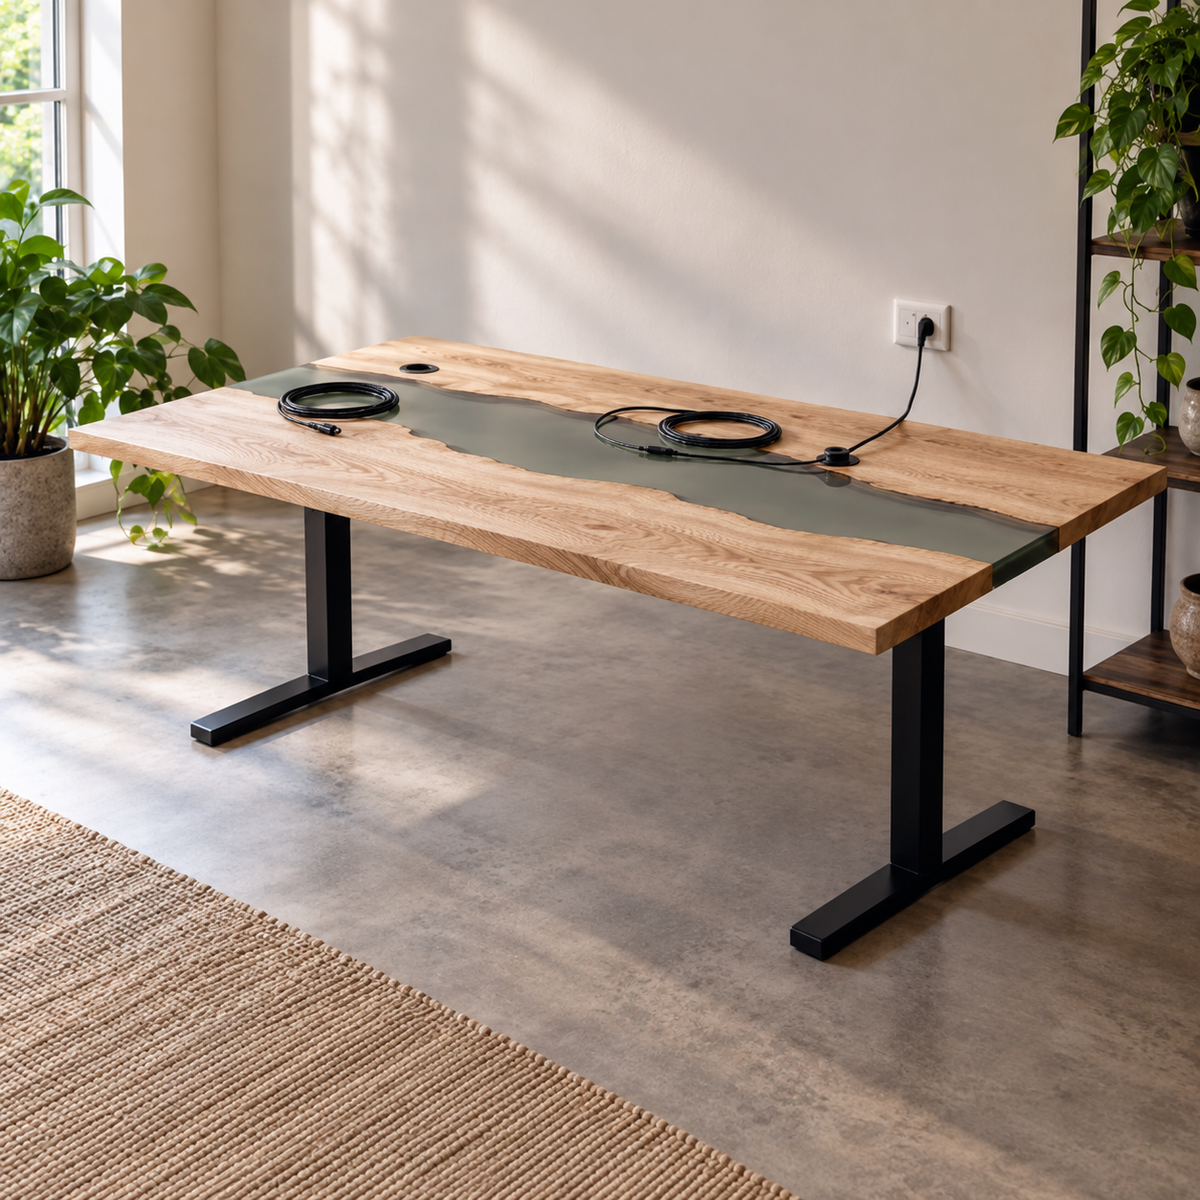
A custom epoxy desk can become the central object in a home office. Once monitors, chargers, and cables arrive, however, the surface has a second job: supporting equipment without turning the room into a tangle. Planning those connections before the top is made is easier than deciding afterward where a hole or attachment should go.
Start with an equipment map. It can be a simple sketch showing what sits on the desk, where electricity comes from, and how the cables reach it.
Step one: place the equipment at working scale
Measure your monitor stands, laptop, keyboard, speakers, and any desk lamp. Mark their footprints inside the proposed tabletop outline. Include the space you use for papers and the route of a chair when you sit down.
If you use a monitor arm, collect its clamping or mounting requirements. Check the proposed edge profile, thickness, underside space, and expected loads with the maker. A desk surface should not be assumed compatible with every clamp merely because the dimensions look close. If you are considering a black walnut black epoxy desk, send the equipment map with your inquiry and confirm approved cable routes and attachment methods for the chosen configuration.
Step two: locate the outlet
Add the actual wall outlet to the sketch. Note whether the desk faces the wall or sits in the middle of the room. A cable route that looks tidy from a seated position may remain visible from the doorway when the desk is freestanding.

Keep cables out of walking routes and away from the areas where the chair moves. For electrical distribution, use appropriate equipment and follow its instructions. Have any installed electrical work handled by a qualified professional.
Step three: discuss the route through or around the top
A grommet, an edge route, and an under-desk tray are different options. Ask which can be supported on the proposed construction. Confirm the position of any planned opening relative to the wood, resin, base, and mounting components.
Do not drill into a completed tabletop or attach hardware without the maker's approval. The appropriate method depends on the actual design, and an unplanned modification may affect the applicable warranty.
Step four: leave access for change
Think about how you will replace a charger or add a device. A hidden route is useful only if you can reach it. If you move equipment off the desk between uses, include nearby wood storage furniture in the plan so devices and spare cables have a convenient destination. Ask how the proposed cable tray or attachment will be accessed and whether it can be removed without altering the tabletop.

Keep the underside layout clear enough for your knees and the chair arms. Compare the cable equipment with the base drawing, not just the surface plan.
Step five: save an approved equipment plan
Record the desk dimensions, device locations, any approved opening, attachment method, and assembly responsibility. Include which items you will supply separately. This turns a general request for a “clean desk” into a specification that can be reviewed.
Share the equipment map, outlet positions, chair dimensions, and intended desk configuration with WOODZIO. Confirm cable openings and attachment methods before approval. The cables deserve a place in the brief before they need a place in the room.


